

Hey there! As a supplier of Linen Interlining, I've seen firsthand how crucial it is to cut this material accurately. Whether you're a professional tailor or a DIY enthusiast, getting those cuts right can make all the difference in your final project. So, let's dive into how you can cut linen interlining like a pro.
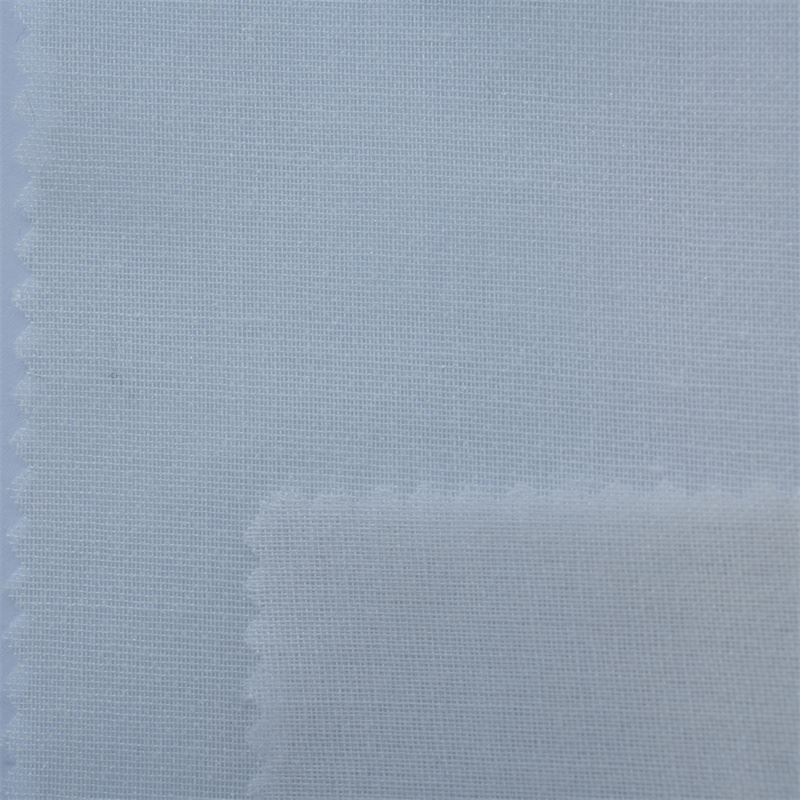

Understanding Linen Interlining
First off, let's talk a bit about Linen Interlining. It's a great choice for adding structure and stability to your garments. Linen interlining is known for its natural breathability and durability, which makes it perfect for a wide range of clothing items, from casual wear to formal suits.
One of the things you need to understand about linen interlining is its grain. Just like fabric, linen interlining has a grain direction. The grain affects how the interlining behaves when cut and sewn. The straight grain runs parallel to the selvage of the fabric, and it's usually the strongest and most stable direction. The cross grain runs perpendicular to the selvage and has a bit more stretch. You'll want to pay attention to the grain when cutting your interlining to ensure that it behaves as expected in your project.
Preparing Your Workspace
Before you start cutting, it's important to set up a proper workspace. You'll need a clean, flat surface that's large enough to lay out your linen interlining. A cutting table or a large, sturdy table covered with a cutting mat is ideal. Make sure you have good lighting so you can see what you're doing clearly.
Gather all the tools you'll need. You'll definitely need a sharp pair of fabric scissors. Dull scissors can cause the interlining to fray or give you uneven cuts. A rotary cutter and a self - healing cutting mat are also great options, especially for larger pieces of interlining. You'll also want a ruler or a measuring tape to ensure accurate measurements, and some pins or weights to hold the interlining in place while you cut.
Taking Accurate Measurements
Accurate measurements are the key to cutting linen interlining correctly. Start by referring to your pattern. If you're making a garment, your pattern will have specific measurements for the interlining pieces you need. Use your ruler or measuring tape to transfer these measurements onto the interlining.
When measuring, make sure to account for any seam allowances. Seam allowances are the extra width of fabric that you'll sew along to join pieces together. Most patterns call for a 1/2 - inch or 5/8 - inch seam allowance, but it can vary depending on the project. Mark the seam allowances clearly on your interlining using a fabric marker or tailor's chalk.
If you're working with a large piece of interlining and need to cut multiple smaller pieces, it's a good idea to plan out your layout first. Try to arrange the pieces on the interlining in a way that minimizes waste. You can use a piece of paper to sketch out the layout and see how everything fits before you start cutting.
Cutting Techniques
Now that you've prepared your workspace and taken your measurements, it's time to start cutting. If you're using scissors, hold them at a slight angle to the interlining. This helps to prevent the fabric from bunching up and gives you a cleaner cut. Start at one end of the marked line and cut slowly and steadily, following the line as closely as possible.
If you're using a rotary cutter, place the cutter on the edge of the marked line and roll it along, applying gentle pressure. Make sure to keep the blade perpendicular to the interlining for a straight cut. Rotary cutters are great for long, straight cuts, but they can be a bit tricky to use for curves.
When cutting curves or irregular shapes, take your time. Make small, incremental cuts and pivot the interlining as needed to follow the curve. You can also use a pair of small, sharp scissors for more detailed cutting.
Dealing with Fusible Interlining
A lot of linen interlining comes in the form of Woven Fusible Interlining. Fusible interlining has a special adhesive on one side that allows it to be fused to the fabric using heat. When cutting fusible interlining, it's important to handle it carefully to avoid damaging the adhesive.
Before you cut, make sure to remove any protective paper from the adhesive side. If the interlining is sticky, you can use a piece of wax paper or parchment paper to cover the adhesive side while you cut. This will prevent it from sticking to your cutting tools or workspace.
After cutting, be careful not to touch the adhesive side with your fingers too much, as the oils from your skin can affect the bonding ability. When it's time to fuse the interlining to the fabric, follow the manufacturer's instructions carefully regarding temperature, pressure, and time.
Cutting for Specific Garments
If you're making a suit, for example, the Suit Interlining needs to be cut with extra precision. Suits require a high level of structure and a professional finish, so every cut matters.
For the jacket front, you'll need to cut the interlining to match the shape of the fabric front, including any darts or curves. Pay close attention to the grain of the interlining to ensure that it provides the right amount of support. The collar and lapel interlining also need to be cut accurately to give the jacket a crisp, clean look.
When cutting interlining for pants, you'll usually need to cut pieces for the waistband and sometimes for the pockets. Make sure to cut the waistband interlining slightly smaller than the actual waistband fabric to allow for a bit of stretch and a comfortable fit.
Checking Your Cuts
Once you've cut your linen interlining, it's a good idea to check your cuts for accuracy. Lay the interlining pieces on top of the corresponding pattern pieces or fabric pieces and see if they match up. Look for any areas where the cuts might be uneven or where the measurements are off.
If you find any issues, don't panic. You can usually make minor adjustments by trimming a little bit off the edges. Just be careful not to cut too much, as you don't want to end up with pieces that are too small.
Conclusion
Cutting linen interlining accurately might seem like a daunting task at first, but with the right tools, techniques, and a bit of practice, you'll be able to do it like a pro. Remember to understand the properties of the interlining, prepare your workspace, take accurate measurements, and use the right cutting techniques. Whether you're working with fusible interlining or non - fusible interlining, and whether you're making a casual shirt or a formal suit, these tips will help you get the best results.
If you're in the market for high - quality linen interlining, we're here to help. We offer a wide range of linen interlining products that are perfect for all your sewing projects. If you have any questions or want to discuss your specific needs, feel free to reach out and start a conversation. We're always happy to help you find the right interlining for your project and ensure that you get the best results.
References
- Textile Manufacturing Handbook: Covers general information about interlining materials and their properties.
- Sewing for Beginners Guide: Provides basic sewing and cutting techniques for various fabrics, including interlining.
- Professional Tailoring Manual: Offers in - depth knowledge on cutting interlining for specific garments like suits.